How to Preview the Web Camera in Real Time Over the Internet
How to Preview the Web Camera in Real Time Over the Internet
Remote webcam previewing allows users to view their webcam’s live video feed from a distance using an internet connection. It has various applications, including security and surveillance, remote monitoring, home automation, video conferencing, content creation, telemedicine, remote teaching, and troubleshooting. This feature offers convenience, flexibility, and the ability to stay connected and informed regardless of physical location.
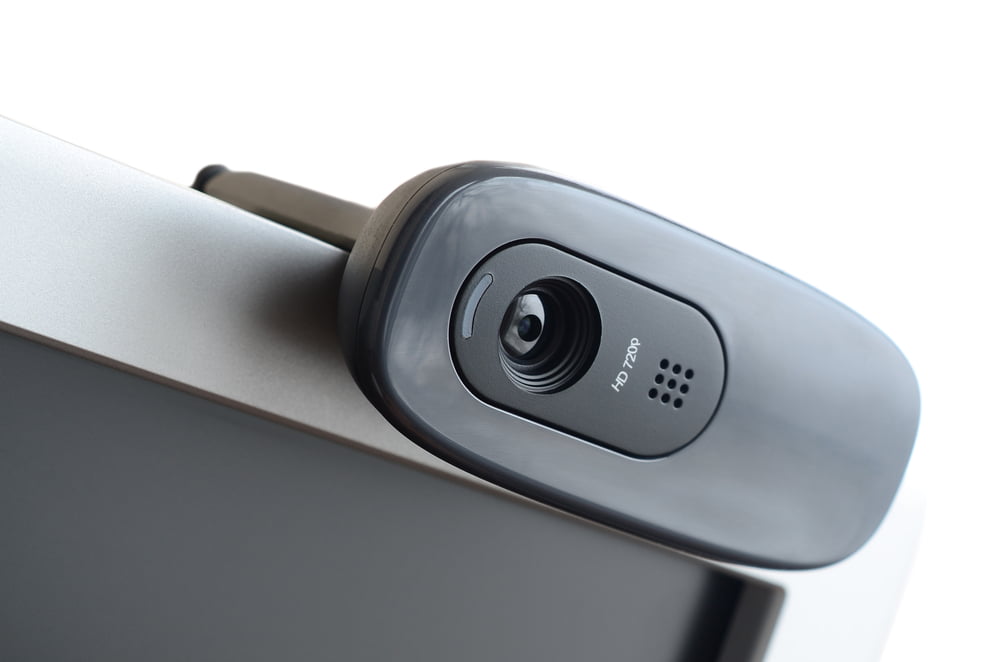
In many cases, including surveillance and security purposes, for remote previewing IP cameras are used. Internet Protocol (IP) cameras are designed to connect directly to a network, allowing remote access via the internet. Using IP camera does not require having a PC, so for many cases this is a more convenient option. But what should you do if you have just a webcam connected to your computer and need to preview it remotely?
Webcam remote previewing using Streamster
Streamster is a livestreaming service. It mostly designed for multistreaming, however it can be used in different scenarios, including web camera remote previewing. This feature is free and easy-to-use. There are three ways how the video previewing may be set up with Streamster.
Preview in user’s account on your computer
Step 1. Download and install the Streamster app.
Step 2. Set up your webcam’s feed. (read more…)
Step 3. Start streaming to the Streamster server.
Step 4. Log in to your Streamster account at https://app.streamster.io on the computer you want to watch the preview with.
Step 5. Enter the “Live stream” section.
Step 6. Select the “Preview” tab to watch your live stream.
Preview with the link on your computer.
Step 1. Download and install the Streamster app.
Step 2. Set up your webcam’s feed. (read more…)
Step 3. Start streaming to the Streamster server.
Step 4. Copy the Live stream link (read more…)
Step 5. On the computer you want to watch your preview with, paste this link to the browser to see your web camera’s feed in real time.
Preview with the Streamster mobile app on your mobile device.
Step 1. Download and install the Streamster app for the PC.
Step 2. Set up your webcam’s feed. (read more…)
Step 3. Start streaming to the Streamster server.
Step 5. Launch your Streamster mobile app with the same credentials and preview the live video from your webcam.
Preview your webcam with streaming platform
Another way to preview your webcam over the internet is broadcasting it to the streaming platform, e.g. YouTube or Facebook Live with relevant privacy. Here are the steps to do it:
Step 1. Select a live streaming platform that suits your needs. Some popular options include YouTube Live and Facebook Live. These platforms provide the infrastructure to host and broadcast your live video.
Step 2. Set Up an Account: Create an account on the streaming platform you’ve chosen. Follow the platform’s instructions for account creation and verification.
Step 3. Choose the “Go Live” option to start your live streaming.
Step 4. Choose the stream privacy. Select the “Only me” option to hide the stream from other viewers.
Step 5. Start your live stream.
Step 6. Log in to the streaming platform account on a different device or use the stream link to preview your live stream.
Turn your webcam into IP camera
Turning a webcam into an IP camera involves using third-party software or applications that enable the webcam to stream its video feed over the network as an IP camera. Your web camera will still need a computer to stream over the internet, but you’ll be able to watch its preview the same way as the IP camera feed. Below are the general steps to do this:
Step 1. First, you’ll need to choose software that can turn your webcam into an IP camera. There are several free and paid software options available, such as iSpy, ManyCam, WebcamXP, or IP Camera Adapter. Ensure that the software is compatible with your webcam and operating system.
Step 2. Download the chosen software from its official website and install it on your computer.
Step 3. Connect your webcam to your computer using a USB cable and ensure that it is recognized by the system. Install any necessary drivers for your webcam if prompted.
Step 4. Launch the software you installed and follow the setup wizard or configuration steps to select your webcam as the video source. You may need to specify the webcam model or select it from a list of available devices.
Step 5. Set Up Network and Streaming Options. In the software’s settings, configure the network and streaming options. You will typically need to set up the IP address, port number, and video streaming format (e.g., H.264) for your IP camera feed. Some software may have built-in features to help you set up port forwarding on your router to enable access from outside your local network.
Step 6. Once the settings are configured, start the streaming service or video feed from the software. The software will then turn your webcam into an IP camera and make its video feed available on the specified IP address and port.
Step 7. To view the webcam’s feed from other devices on your network or remotely, use a web browser or a compatible IP camera viewing application. Enter the IP address and port number you configured in the software to access the live video feed.
Step 8. Security Considerations. If you plan to access the webcam remotely over the internet, make sure to set up strong passwords and take necessary security precautions to protect your camera from unauthorized access.